The Plane Station Connector: Spatial Constraints
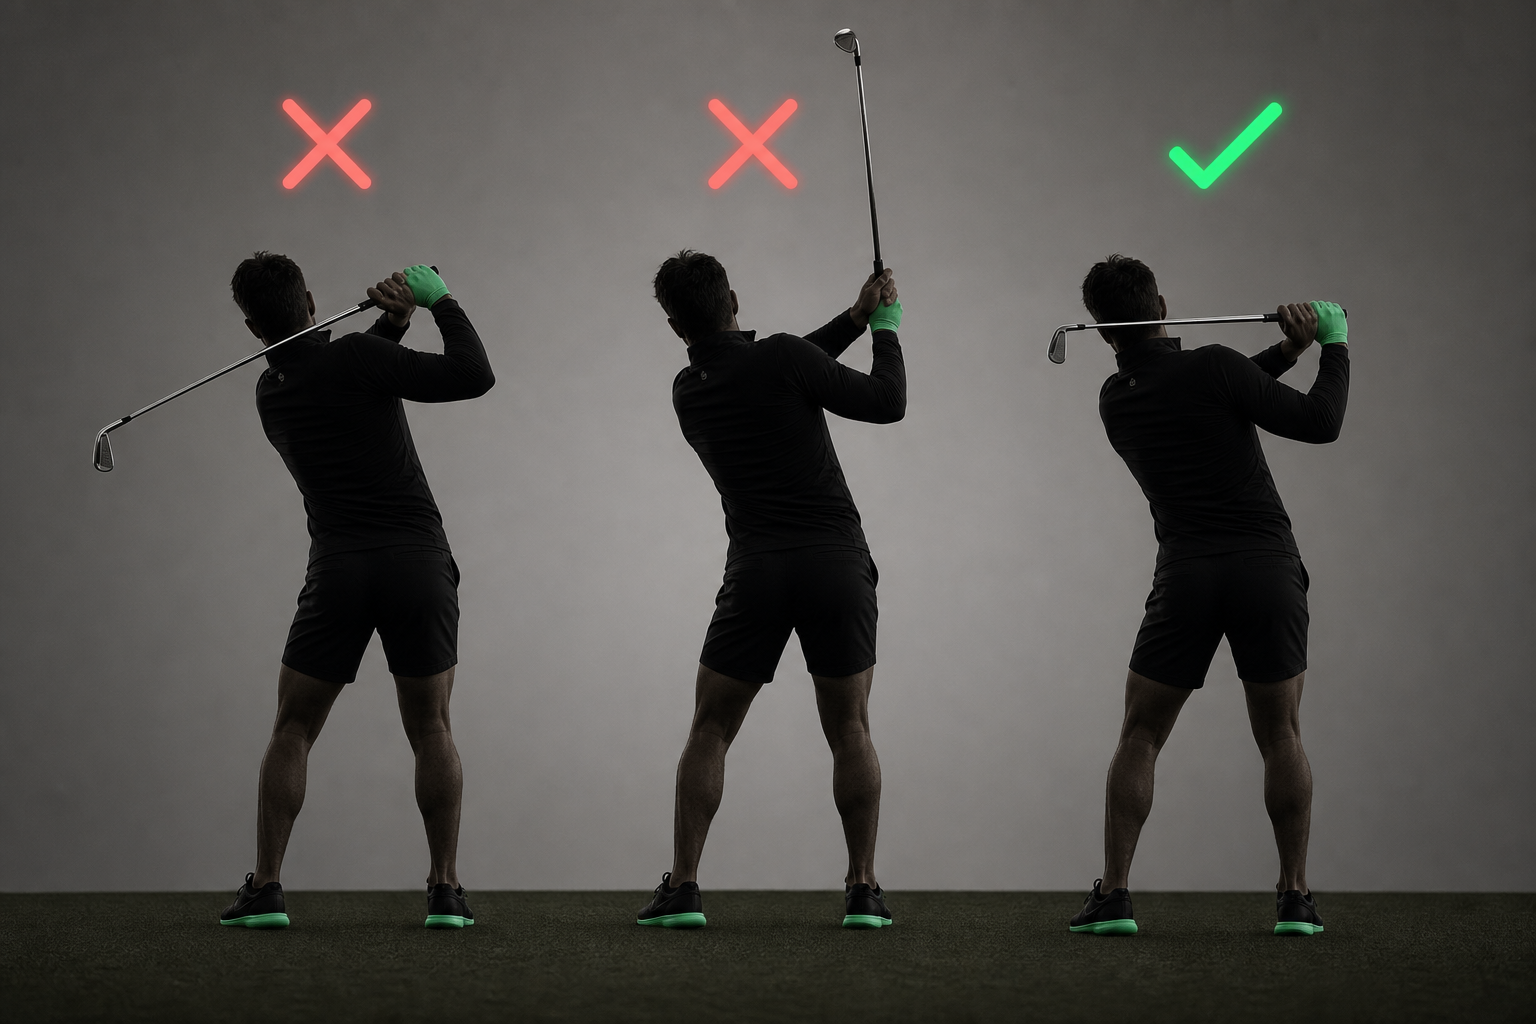
The over-the-top transition is one of the most common movement faults: arms thrust outward and down, club mass moves outside the hands, and delivery steepens into a collision with the turf.
Internal cues like "swing from the inside" add cognitive lag. The Plane Station Connector makes the steep path physically impossible.
Trains
- The Elbow Plane — shallowing, trail elbow tuck, slot entry
- The J-Curve Hand Path — exit after slot entry
- Faults: over-the-top slice, flying elbow
Prerequisite: Pump Drill maps the free-fall sensation before adding the ceiling rod.
Spatial Architecture
Build a V-shaped corridor with two alignment rods:
Step 1: Target Axis (Floor)
Place one rod flat on the turf, parallel to the target line, between toes and ball. This sets the baseline stance geometry.
Step 2: Plane Constraint (Ceiling)
Place the second rod ~3 feet behind the ball on the target-line extension. Angle it upward to match shaft angle at address. This rod is the ceiling of the delivery corridor—the Elbow Plane boundary.

Executing the Protocol
- Backswing: Hands and club track above or parallel to the ceiling rod.
- Transition: Throwing arms outward hits the rod. The body recalculates: arms free-fall, trail elbow tucks, shaft shallows under the ceiling.
- Slot entry: Club navigates underneath into the zero-compensation zone.
Do not run this station at 100% until the shallowing pattern is mapped. Use The 10% Speed Protocol first to avoid damaging equipment and reinforcing collisions.
Integrating the J-Curve
The connector guarantees slot entry, but exit still requires the J-Curve: vertical GRF, lead hip clearance, handle In and Up. Centrifugal force then whips the clubhead outward and compresses the ball.
DIY / Range Substitutes
No proprietary hardware required—the constraint is the ceiling corridor:
| Component | Substitute |
|---|---|
| Floor axis | Any alignment rod or club shaft on the turf |
| Ceiling rod | Second alignment rod angled from ~3 ft behind ball |
| Collision feedback | Rod rattle on steep throw—immediate external focus |
If only one rod is available, use it as the ceiling only; the floor rod mainly helps alignment consistency.
Progression
- Pump Drill — map free-fall at 10%, no rod
- Plane Station Connector — add ceiling corridor at 30%
- Exit Gate Station — release after slot is automatic
- Progressive Chaining full chain at speed
Using the Aid
The Plane Station Connector is a tool, not a full session plan. For the integrated 50-rep session, follow the Elbow Plane Grooving This Pattern plan and The 50-Rep Daily Blueprint. Use the progression below to dose the aid itself within those phases:
- Practice Speed: ~10% of your max · no ball — Set the floor + ceiling rods; dry-run shallowing under the ceiling without contact. Check: arms free-fall before the shoulders pull from the top.
- Focus (internal): arms free-fall before the shoulders pull from the top
- Practice Speed: ~30–70% of your max · ball on — 8 of 10 reps clear the ceiling into the slot—no rod collision on transition. Reset with the Pump Drill if shoulder spin returns.
- Focus (constraint): 8 of 10 reps clear the ceiling into the slot—no rod collision on transition
- Practice Speed: Up to 100% of your max · game speed — Penetrating ball flight through the corridor; then remove the ceiling rod and retain the shallowing feel.
- Focus (external): Penetrating ball flight through the corridor—not a body-part checklist
Successful runs produce penetrating ball flight instead of high-spin slices. Repeat inside the corridor until the pathway feels automatic, then scale speed.
The Cheatcode for your Game