Carry Calibration: Programming Distance
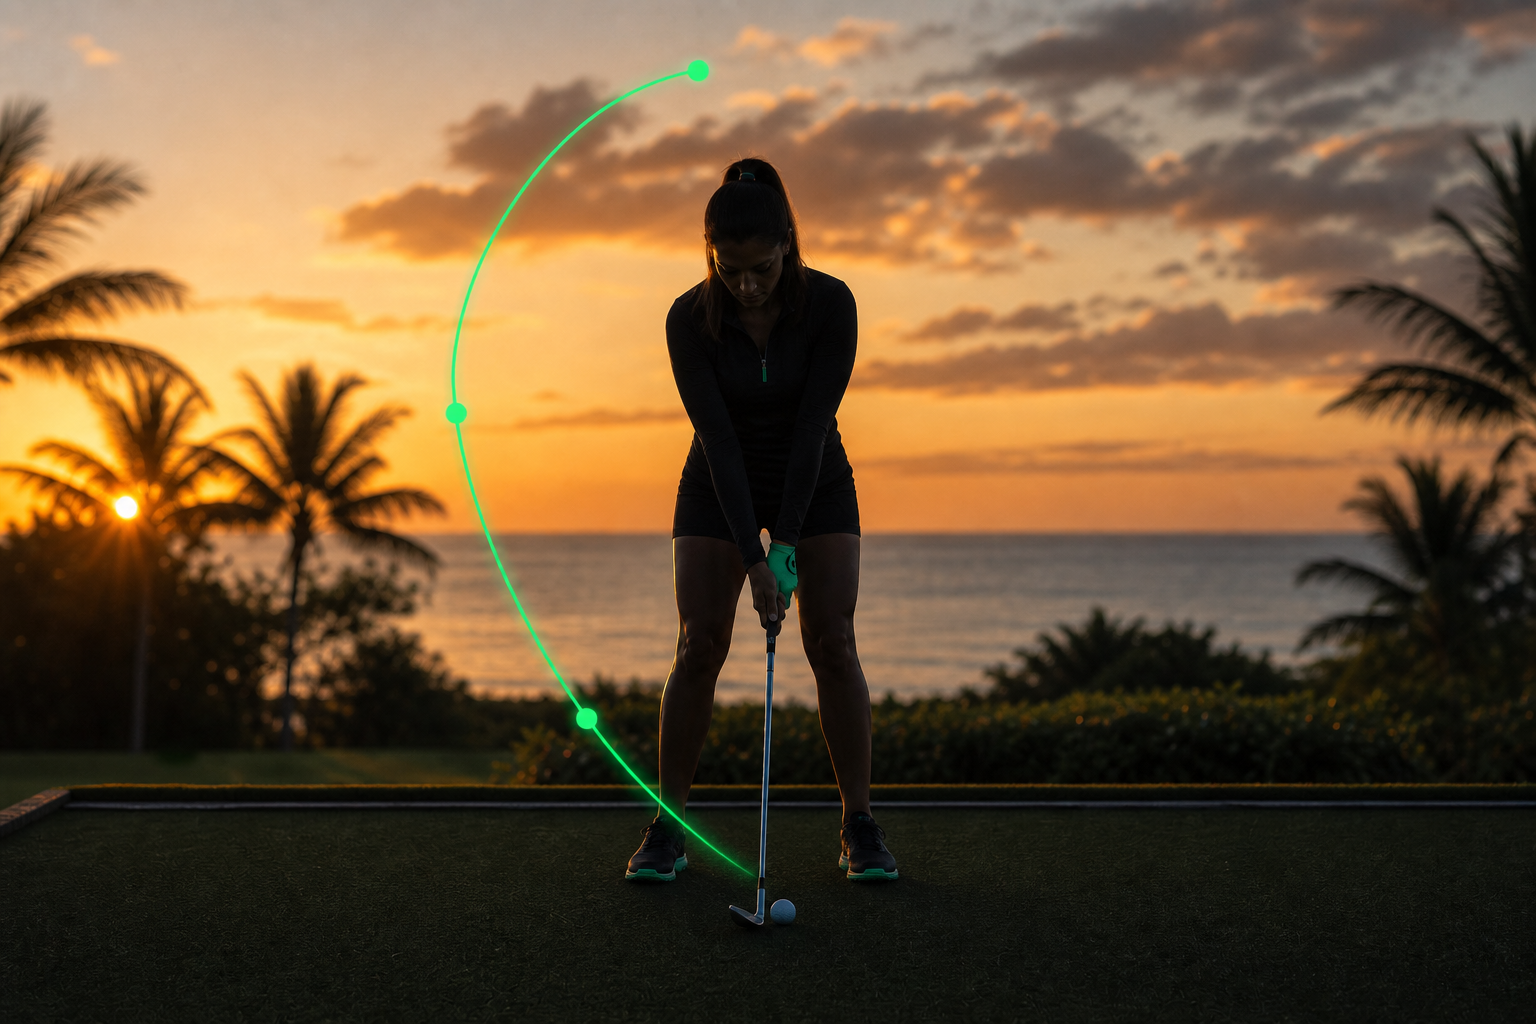
Final Boss Golf treats short-game misses as a distance-control failure, not a mysterious lack of touch. Around the greens, "feel" is an uncalibrated variable—it shifts under pressure, fatigue, and adrenaline. Carry Calibration replaces guesswork with repeatable backswing lengths and a mapped carry matrix, the wedge equivalent of Speed Programming on the greens.
Strike quality comes from The Geometry of Bounce and passive release. Carry Calibration answers the next question: how far does this calibrated strike actually go?
When distance is controlled by slowing down through impact, friction drops, spin collapses, and rollout becomes unpredictable. Deceleration is not touch—it is a timing gamble. Distance must be programmed before the club moves.
The Carry Equation
Short-game distance reduces to three locked variables:
- Backswing length — how far the hub loads
- Tempo — how fast the load unloads
- Club selection — which loft window you are calibrating
Change only one variable at a time. If tempo stays constant and the club stays the same, backswing length is the carry dial.
Step 1: Lock Tempo First
Before mapping distance, freeze rhythm. The backswing-to-downswing ratio must stay identical whether the target is 10 yards or 40 yards.
- The Mechanic: Establish one baseline tempo—typically a smooth 3:1 backswing-to-through ratio—and never alter it to "add" or "remove" distance.
- The Output: Tempo becomes a constant; backswing length becomes the only distance variable you adjust on course.
If you need more carry, lengthen the backswing—do not rush the downswing. If you need less, shorten the load—do not decelerate through the ball. Tempo discipline is what makes the matrix trustworthy.
Step 2: Programming the Length Levels
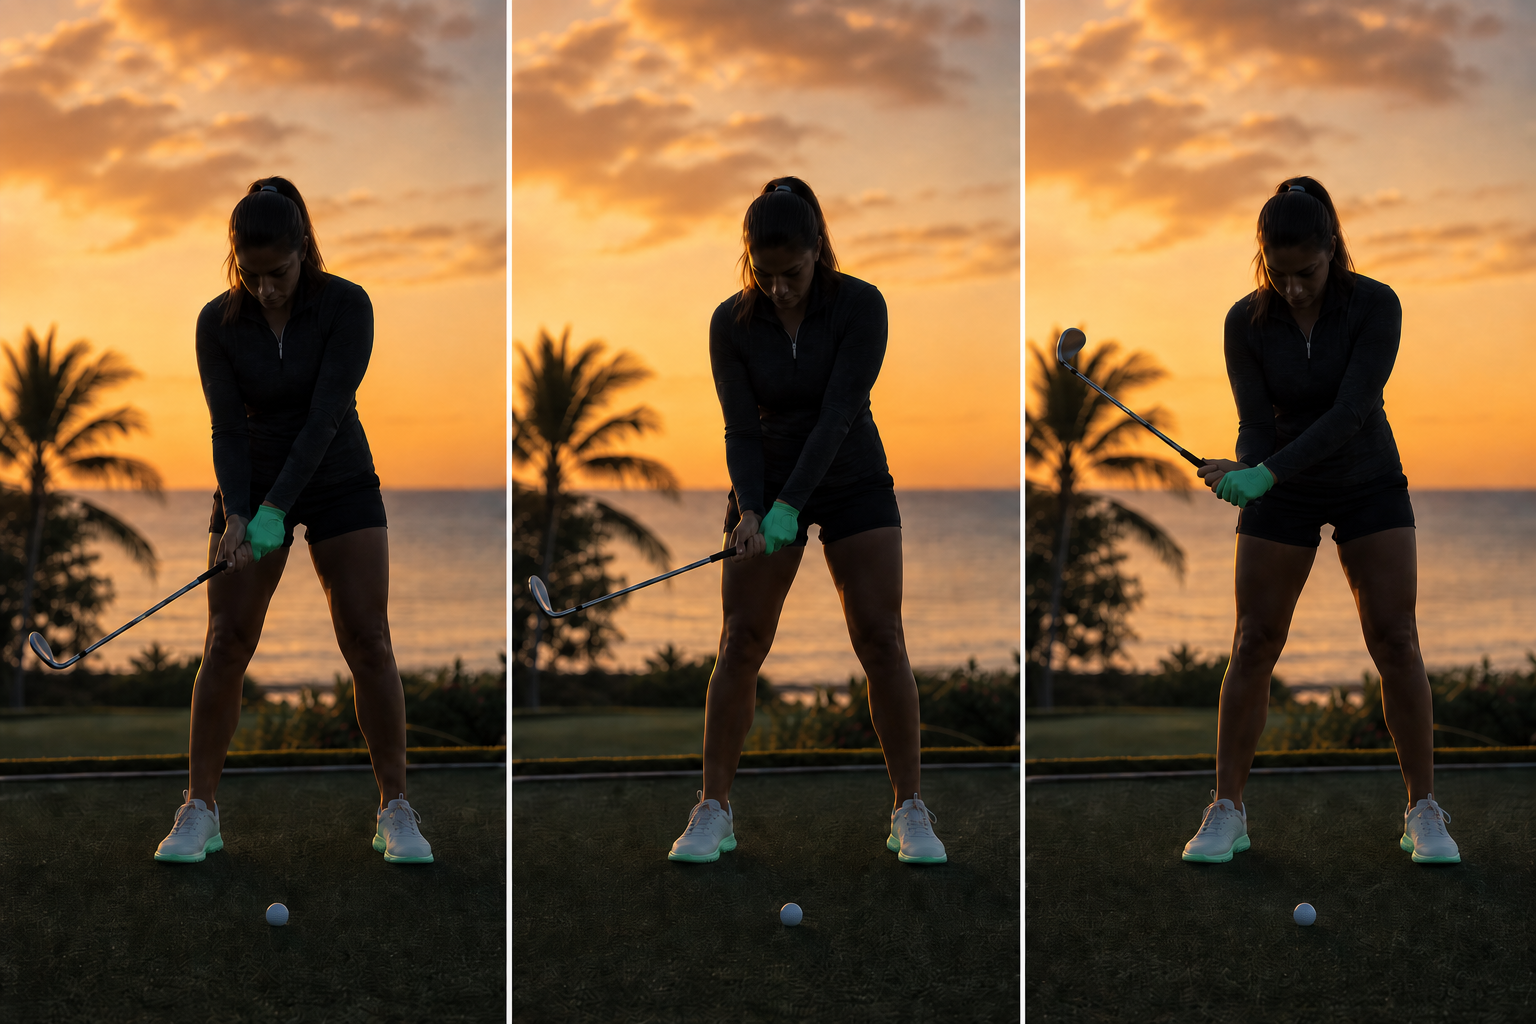
Rather than guessing how far to take the club back, map three spatial checkpoints per wedge. Final Boss Golf uses body landmarks as the ruler:
| Level | Backswing checkpoint | Typical use |
|---|---|---|
| Level 1 | Hands to trail thigh | Bump-and-Run windows, tight landing spots |
| Level 2 | Hands to trail hip | Standard greenside carry (15–25 yd band) |
| Level 3 | Hands to trail ribcage | Extended carry pitches and partial wedges |
These are starting coordinates—not laws. Your matrix will refine them for your speed, shaft, and conditions.
Step 3: Building the Carry Matrix
Calibration happens on the practice area, not during a round. For each primary wedge (typically sand wedge and gap/approach wedge):
- Hit five balls at Level 1 with locked tempo and standard passive release.
- Walk off average carry (where the ball first lands—not total distance).
- Repeat for Level 2 and Level 3.
- Record the matrix. Example: "SW — L1: 8 yd carry, L2: 18 yd, L3: 28 yd."
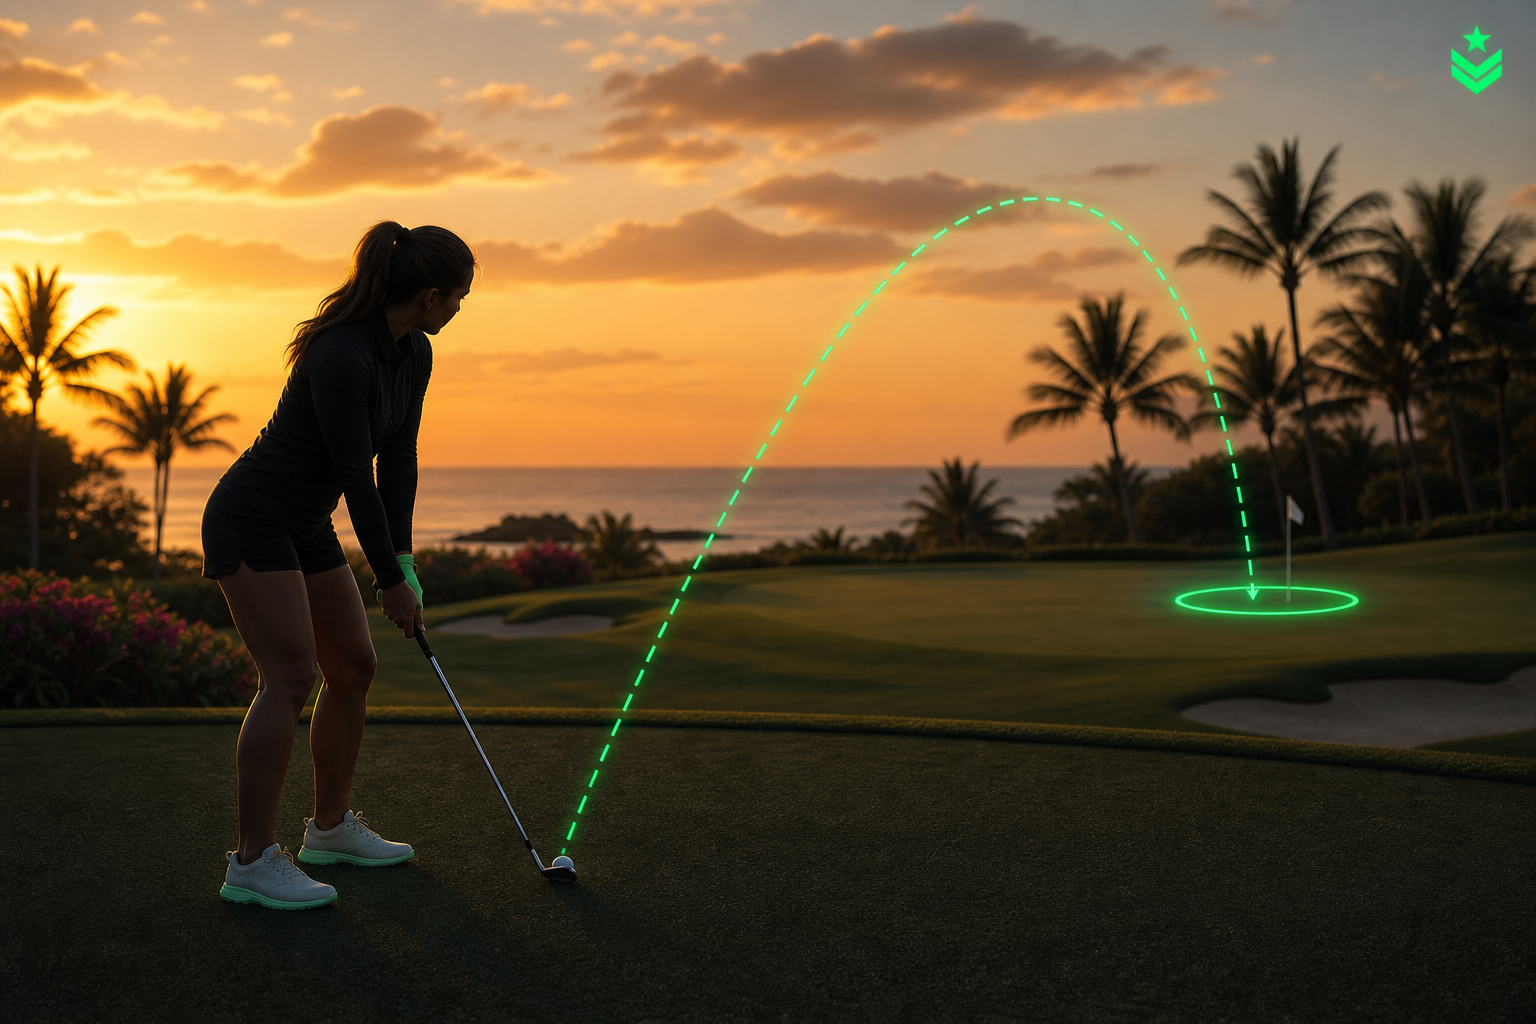
Players map rollout instead of carry and then wonder why the ball releases past the hole on firm greens. Carry is the airborne segment; rollout is a separate variable handled in Shot Selection & Landing Zones. Calibrate carry first.

Step 4: On-Course Execution (Program, Then Swing)
Once the matrix exists, distance decisions happen behind the ball:
- Pace or estimate carry required to the landing spot.
- Select the wedge and Level that matches the matrix.
- Lock trajectory setup if lob or checker is required.
- Execute with external focus on the landing spot—not on "how hard to hit it."
If the ball carries short but the strike felt clean, your matrix was wrong—not your execution. Recalibrate after the round; do not mid-swing "help" distance with a punch or decel.
How It Connects
| Mechanic | Relationship to carry |
|---|---|
| The Geometry of Bounce | Clean skid-plate contact makes carry repeatable at each level |
| The Hinge-and-Hold Myth | Passive release preserves energy transfer so length = carry |
| Trajectory Control | Lob/checker setup changes rollout; carry matrix stays level-based |
| Shot Selection & Landing Zones | Chooses where to land; carry calibration supplies how far |
Grooving This Pattern
Grooving this pattern
Carry Calibration
Delivery rule
tempo constant, length programmed, no decel.
Work through the three steps below in order—don't skip ahead.
1. Learn It
~10% of your max · no ball
Dry runs at Level 1, 2, and 3 checkpoints—map the three backswing lengths with locked tempo
tempo constant, length programmed, no decel. — map geometry at checkpoints; no rush. After each rep: Tempo identical across levels; no punch or decel at the bottom
2. Prove It
~30–70% of your max · ball on
add a ball on a tight lie—same constant tempo, five-ball clusters per Level per wedge. Ball flight does not matter.
Record average carry per Level; matrix rebuilds for the session (8 of 10 reps on-intent)
Return to The Geometry of Bounce if contact turns sharp; The Hinge-and-Hold Myth if release turns rigid
3. Play It
Up to 100% of your max · game speed
game speed, new target/club/lie (or distance and break on putting), and the full Pre-Shot Loop when ready.
Call Level and landing spot before each rep—not a body-part checklist
After a decel or punch, reset with Learn It dry runs at the intended Level before the next ball
Grass moisture, ball type, and adrenaline shift carry slightly. Rebuild the matrix on the practice green before competitive rounds—same discipline as green-speed mapping for putting.
Read next: Shot Selection & Landing Zones · Short Game Shot Library · On-Course Tactics
The Cheatcode for your Game